
- Install the client for your operating system:
https://www.wireguard.com/install/
- If you don’t have already the configuration file please write to paoloemilio.mazzon@unipd.it requesting one
- Follow the relevant instructions:
- Connect to the servers via the VPN connection with your usual USERNAME and password:
ssh USERNAME@10.0.0.1
Linux
- rename the config file you have received as wg0.conf
- sudo mv wg0.conf /etc/wireguard/
- sudo wg-quick up wg0.conf
(optional): activate the VPN interface at boot:
- sudo systemctl enable wg-quick@wg0.service
Mac OS (>=12)
- open the client and select “Add tunnel” -> “Import tunnel(s) from file”, selecting the file you received;
- click ‘Activate’
Windows (>=10)
- click ‘Activate’
- open the client and select “Add tunnel” -> “Import tunnel(s) from file”, selecting the file you received;
Mac OS (older versions)
- Install MacPorts from https://www.macports.org/install.php
- Ignore the suggestion to install ‘xcode’: the needed packages are already pre-built

- Open a terminal and type “sudo -s”; all the subsequent commands must be executed as the superuser;
- port install wireguard-go wireguard-tools (…and close the xcode window)
- In the terminal the installation procedure waits for you:
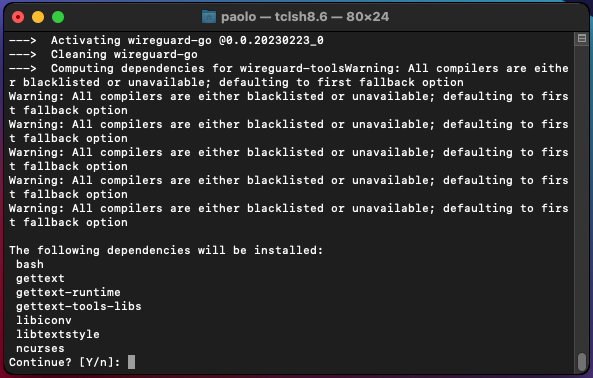
- Answer “Yes” and terminate the procedure;
- mkdir -p /opt/local/etc/wireguard
- mv wg0-xyz.conf /opt/local/etc/wireguard/wg0.conf (wg0-xyz.conf is the file you received, e.g. wg0-101.conf)
- wg-quick up wg0
Upon reboot the VPN must be manually reopened typing “sudo wg-quick up wg0” in a terminal